
How to Test and Grade Returned Products: A Step-by-Step Process for Resellers
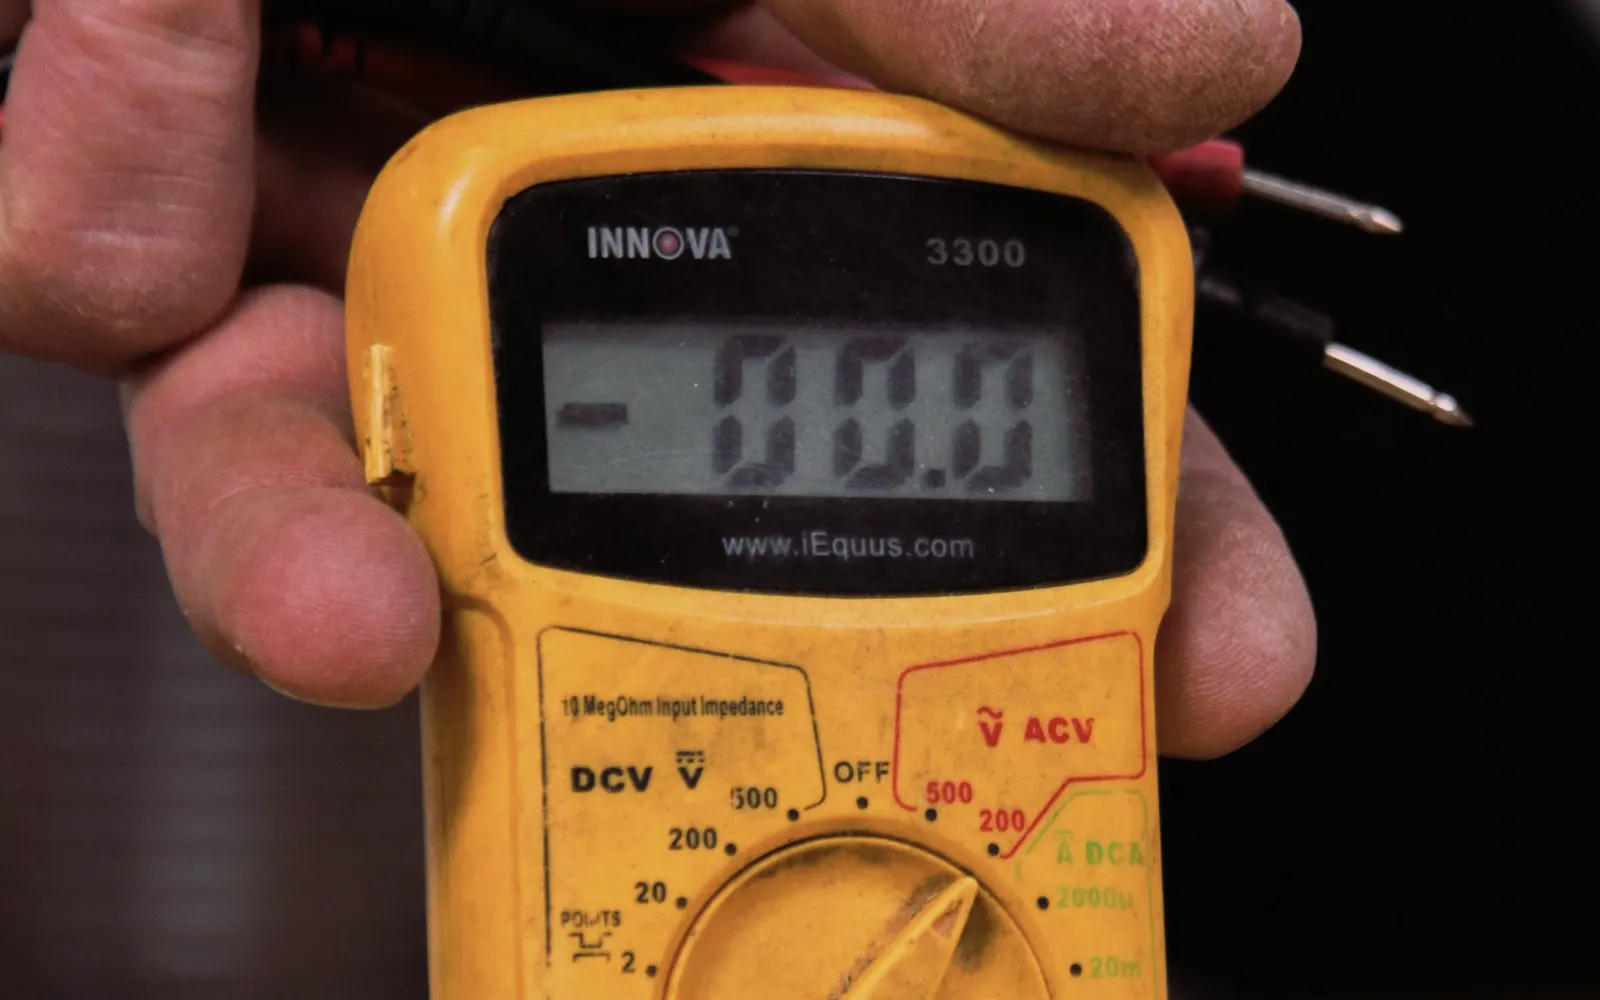
Knowing how to grade customer returns comes down to running every unit through the same sequence: receive it, identify it, inspect it, test it, clean it, assign a grade, photograph it and write an honest condition note. A consistent returns testing process means two people grading the same item reach the same result, and buyers get what the listing describes. Below is the eight-step process resellers can use for most consumer and light commercial goods.
Key takeaways
- Use one written process and one grading scale for every return. Consistency matters more than speed.
- Identify the exact model and part number before testing. You cannot test or price what you have not identified.
- Test the core function the buyer is paying for, not just whether the unit powers on.
- Photograph the actual unit, including every flaw you note in the description.
- Honest condition descriptions reduce "not as described" returns and protect your seller ratings.
Step 1: Receive and separate returns
Returns should land in a dedicated area, never mixed into first-quality stock. Log each unit as it arrives with the date, the source (marketplace return, retail return, bulk lot) and any return reason the customer gave.
The customer's stated reason is a hint, not a diagnosis. "Defective" often means "did not know how to set it up," and "changed my mind" sometimes hides real damage.
Step 2: Identify the item (model and part number)
Find the manufacturer, model number and, where relevant, the part number or SKU. These are usually on a label on the bottom, back, inside a battery compartment, or on the original box.
Correct identification matters because:
- Similar-looking models can have very different features and values.
- You need the exact model to find the right manual, test procedure and replacement parts.
- Marketplaces match listings to catalog entries by model and UPC.
If the label is missing, compare ports, button layout and markings to manufacturer spec sheets. Our list of repair and troubleshooting resources includes part-number lookup sources.
Step 3: Visual inspection
Before plugging anything in, inspect the unit under good light. Check:
- Housing: cracks, dents, scratches, discoloration.
- Screens and lenses: scratches, dead pixels, chips.
- Ports and connectors: bent pins, corrosion, debris.
- Signs of liquid or heat damage: residue, warping, burn marks, odor.
- Accessories: compare what is in the box against the manufacturer's contents list.
Note every finding as you go. Stop here and set aside anything with swollen batteries, burn marks or liquid damage for safe handling. Do not power those units on.
Step 4: Functional test
A functional test checks that the item does what a buyer expects it to do. "It turns on" is not a test.
Build a short checklist per product category. For example:
| Category | Minimum functional test |
|---|---|
| Small electronics | Powers on, charges, buttons and ports work, screen displays fully, factory reset completes |
| Small appliances | Heats, spins or pumps as designed through a full cycle, no unusual noise or odor |
| Power tools | Runs under load, variable speed and clutch settings work, battery holds charge |
| Audio | Every channel plays clearly at low and high volume, pairing works if wireless |
| Industrial parts | Matches spec, passes the manufacturer's bench test where one exists |
Record pass or fail for each line. If a unit fails one function but passes the rest, note exactly which function failed. That note decides its grade and its listing.
Step 5: Clean and reset
Clean the unit with the right product for the material. Remove dust, fingerprints, labels from the previous owner and any personal data.
For anything that stores data (phones, tablets, laptops, smart home devices, cameras), perform a full factory reset and remove any linked accounts. An account lock can make a working device unsellable.
Step 6: Assign a grade
Use a fixed scale and written definitions. A common one:
- New / open box: unused, complete, packaging opened.
- Used, like new: fully functional, complete, no visible wear.
- Used, good: fully functional, light wear or a missing non-essential accessory.
- Used, acceptable: functional, noticeable wear or minor flaws.
- For parts or not working: fails a core function or has major damage.
Match your grades to the condition terms each marketplace uses. eBay, Amazon and Walmart each have their own condition definitions and some categories restrict which ones are allowed, so check the current policy for your category before listing.
If a unit falls into a lower grade but could move up with a small repair, that is where the repair-or-liquidate decision comes in. Our decision framework for returned and damaged inventory covers that math.
Step 7: Photograph the actual unit
Stock photos are fine as a supplement, but buyers of returned goods want to see the unit they are getting.
- Shoot on a plain background with even light.
- Include front, back, sides, ports, and the model label.
- Take a close-up of every flaw mentioned in your notes.
- Show all included accessories together in one shot.
Step 8: Write an honest condition description
Your description should tell the buyer exactly what you found in steps 3 through 6. Be specific:
- Weak: "Some wear."
- Better: "Light scuffs on the left side (see photo 4). Tested: powers on, charges, all buttons work. Includes charger, no original box."
Overstating condition leads to returns, negative feedback and account health problems. Understating it costs you money. Specific, verifiable notes solve both.
How long should testing each return take?
It varies widely by category. A phone case takes seconds, a laptop can take much longer. Time a sample of units in each category, then compare that time against the value you recover. If testing costs more than the grade difference is worth, those SKUs are candidates for bulk sale to a customer return buyer instead, or can be folded into a wider business inventory liquidation alongside slow-moving stock.
Frequently asked questions
What is the difference between "open box" and "used, like new"?
Open box generally means the item was not used, only unpacked. Like new means it may have been used but shows no wear and is fully functional. Check each marketplace's definitions, since they differ.
Should I test every returned item or sample a lot?
Test every unit you plan to sell individually. Sampling only works when you plan to sell the whole lot in bulk and describe it as untested or sampled.
What should I do with returns that fail testing?
List them as "for parts or not working" with the specific failure noted, repair them if the math works, or include them in a bulk liquidation lot.
Selling inventory to Nevra
If testing and grading returns is taking more time than it pays back, Nevra buys customer returns and mixed-condition lots as-is. We run this same receive, test, grade, photograph and list process in-house for our own marketplace stores. Share what you have through Sell your inventory or review what we buy.
Have inventory to sell?
Our purchasing team reviews excess, closeout and returned inventory from businesses across the US.
Sell your inventoryMore articles
 Inventory economics
Selling Online Is No Longer Optional: A Practical Guide for Traditional Businesses
Buyers research and order online, even in B2B. What traditional US businesses risk by staying offline, and a realistic way to start selling online.
Read article Sustainable operations
Why Delivery Speed Is a Competitive Advantage (and Why Reliability Matters More)
Shoppers compare delivery as closely as price. What fast shipping means in 2026, why reliable promises beat raw speed, and how small sellers keep up.
Read article Selling surplus
How Small American Brands Compete With Big Companies
Big-box retailers win on scale. Small American brands win on speed, focus and trust. A practical playbook for competing without matching their budget.
Read article